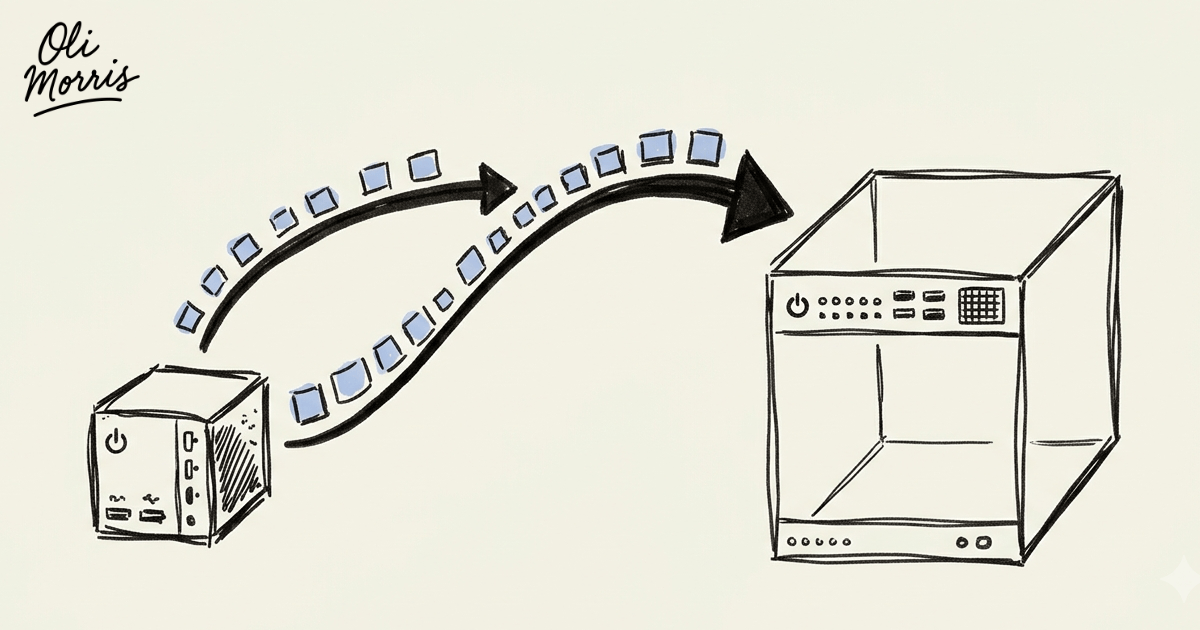
With every passing week, I use n8n to automate more CodeCompanion activities. My $7 DigitalOcean box (1GB RAM, 1 vCPU) was starting to creak. For $1.50 more, I moved to Hetzner for four times the memory and twice the compute, migrating all my workflows, credentials, and data in the process. In this blog post, I share how you can do the same.
Important
This post was written by hand. Every CLI command is mine. I only used an LLM to proofread the text and correct grammar and spelling.
Background
About 12 months ago I decided to self-host an n8n instance. A DigitalOcean box was $7 and although the specs were pretty crappy, I didn’t expect I’d be pushing them anytime soon. I was trying to get on top of the GitHub workload for CodeCompanion, and n8n workflows seemed like the perfect fit. And they have been. They’re saving me days of work a year.
To install and set it up, I followed the official documentation and had Docker with Caddy ready to go. I routed it through Cloudflare so I had a clean URL I could access from anywhere. My self-hosted n8n instance runs on the official n8n-docker-caddy repo. This setup uses Docker Compose to run n8n alongside Caddy, which acts as a reverse proxy and automatically manages SSL certificates. If you follow along to this guide, you’ll need to be doing the same.
An interesting anecdote: I distinctly remember it took me longer to set up OAuth in Google and connect that to n8n than it did to get my n8n server up and running. 60 mins versus about 15 mins. Although Google have since improved their Workspace documentation considerably.
Twelve months on, DigitalOcean’s monitoring tab shows my RAM sitting at 80% utilisation and I’ve had some disk space warnings. That’s about as clear a sign as I’ll get that it’s time to bump up the server specs.
But, DigitalOcean’s pricing has put me off - $24 for 4GB of RAM and 2 vCPUs. Whereas Hetzner offers a shared box for $8.50 that has the same specs via its CX23 plan (source). In terms of the recommended n8n specs, it ticks all of the boxes.
Now, of course, all of this sounds great on paper. However, I could find next to no documentation for migrating an n8n instance from one server to another, preserving all of the data in the process. So I had to figure this out myself and hence that’s what the bulk of this blog post will be about.
Migration Steps
Before I began the migration, I had a few non-negotiables that my process had to meet:
- Rollback: If anything fails, I must be able to revert to the old server quickly
- Zero data loss: No missing logs, workflows, or executions
- Full credential migration: All API keys, credentials, and OAuth tokens must survive the move
- CLI-only: No manual UI configuration or scripts
1. Prerequisites
First, verify that your current setup matches mine. Navigate to your n8n directory in your current server and list the files:
cd ~/n8n-docker-caddy
ls
The directory should look like this:
Dockerfile LICENSE README.md caddy_config docker-compose.yml local_files package-lock.json
Next, verify the Docker volumes:
docker volume ls
This should return:
DRIVER    VOLUME NAME
local     caddy_data
local     n8n_data
Important
If the files or volumes do not match this structure, this guide might not work for you.
2. Set up the new server
I highly recommend preparing the new server first. Basic tasks like updating system packages or installing Docker can be a real pain. I had to spend 10 minutes researching why apt install docker-compose-plugin failed, even though the command came straight from the n8n docs. Expect to spend the bulk of your time on this phase debugging your server setup.
Log in to the new server. Then run the following commands to update packages, and install Docker:
apt update && apt -y upgrade
curl https://get.docker.com | sh
The latter command is Docker’s official installation script. Docker themselves say it’s not for production environments so do bear that in mind.
Verify the installation by running docker compose. It should output some standard usage text.
Next, clone the official n8n-docker-caddy repo to create the n8n-docker-caddy directory (we’ll be overwriting its files later):
git clone https://github.com/n8n-io/n8n-docker-caddy.git
Note
If at any point the server returns an error like curl or git not found, install the missing package with apt install <package-name>.
3. Get the encryption key
n8n uses an encryption key to secure credentials (API keys, OAuth tokens, etc.). When you migrate to a new server, it must use the same key to decrypt this data. This step is critical.
Note
Log out of the new server and log back into the old server for the next few steps.
If you have N8N_ENCRYPTION_KEY defined in the docker-compose.yml file, you can actually skip this step. If not, retrieve the key directly from the running container on the old server:
docker compose exec n8n cat /home/node/.n8n/config
You should see output that resembles:
{
  "encryptionKey": "some-special-key"
}
Save this key securely.
To break down the command:
docker compose exec n8n: Runs a command inside the activen8ncontainercat /home/node/.n8n/config: Outputs the contents of n8n’s internal configuration file containing the key
4. Back up Docker volumes
To guarantee zero data loss, stop the server before performing any backups.
Important
It should be obvious that during this time your workflows will not be executing.
docker compose stop
Next, back up the n8n_data volume:
docker run --rm -v n8n_data:/data -v $(pwd):/backup alpine tar czvf /backup/n8n-data-backup.tar.gz -C /data .
Not a particularly nice command on the eyes, but let’s break it down:
docker run --rm alpine: Starts a temporary Alpine container (small Linux distro) and removes it on exit. This lets us read then8n_datavolume without installing extra tools on the host-v n8n_data:/data: Mounts then8n_datavolume to/datainside the container-v $(pwd):/backup: Mounts the current directory to/backupinside the containertar czvf /backup/n8n-data-backup.tar.gz -C /data .: Compresses all files in/datainto a gzipped tar archive within the backup directory
Verify the backup is not empty:
tar tzvf n8n-data-backup.tar.gz | head -20
You should see the active SQLite database and workflow directories:
rwxr-sr-x 1000/1000         0 2026-07-02 16:04 ./
-rw-r--r-- 1000/1000   1278016 2026-04-21 21:13 ./n8nEventLog-3.log
-rw-r--r-- 1000/1000    473391 2026-06-29 14:24 ./n8nEventLog.log
-rw-r--r-- 1000/1000  56274944 2026-06-26 14:43 ./database.sqlite
drwxr-sr-x 1000/1000         0 2026-04-09 09:42 ./binaryData/
drwxr-sr-x 1000/1000         0 2026-04-17 11:48 ./binaryData/workflows/
5. Back up config files
Next, back up the Docker files:
cp docker-compose.yml docker-compose.yml.backup
cp Dockerfile Dockerfile.backup
And the .env file if you use one:
cp .env .env.backup
Don’t forget the Caddy configuration. I neglected this and had to go back and sort it after pondering for a good 5 minutes why I couldn’t connect to my n8n instance.
cp caddy_config/Caddyfile caddy_config/Caddyfile.backup
The .backup suffix is arbitrary. You can name your backups however you like. By using the suffix, we’re making sure we’re not going to touch the original files in any way. Especially useful if we need to roll back quickly.
Important
If you have files in the local_files directory, back those up too. My directory was empty, so I skipped it.
6. Transfer backups to your local machine
You could copy files directly between your servers, but that requires setting up SSH keys between them. To save effort, I downloaded the backups to my local machine first, then uploaded them to the Hetzner box.
Run this command from your local machine to download the backups:
scp user@oldserver:~/n8n-docker-caddy/{n8n-data-backup.tar.gz,docker-compose.yml.backup,Dockerfile.backup,.env.backup,caddy_config/Caddyfile.backup} .
Arguably this is the most disgusting command you’ll see in this post. The secure copy protocol (scp) is a command-line utility for transferring files over SSH. The {} syntax allows you to specify multiple files in one command, which is why I used it here.
7. Transfer data to the new server
From your local machine, upload the backups to your new server:
scp n8n-data-backup.tar.gz docker-compose.yml.backup Dockerfile.backup .env.backup Caddyfile.backup user@newserver:~/n8n-docker-caddy/
Log into the new server. Navigate to the directory:
cd ~/n8n-docker-caddy
Overwrite the default repository configurations with the backups:
mv Dockerfile.backup Dockerfile
mv docker-compose.yml.backup docker-compose.yml
mv .env.backup .env
mv Caddyfile.backup caddy_config/Caddyfile
Now, create the Docker volumes:
docker volume create n8n_data
docker volume create caddy_data
Restore the n8n_data volume from the backup archive:
docker run --rm -v n8n_data:/data -v $(pwd):/backup alpine tar xzvf /backup/n8n-data-backup.tar.gz -C /data
A similar command to the backup command, but this time we’re extracting the files into the n8n_data volume.
Important
caddy_data is left empty on purpose. It contains cached TLS certificates. Caddy will automatically generate fresh certificates once we point our domain to the new IP address.
At this point, I decided to move my encryption key into my docker-compose.yml file via the N8N_ENCRYPTION_KEY. So I opened up Vim and edited the file:
vim docker-compose.yml
Adding the key under the environment: section of the n8n service:
- N8N_ENCRYPTION_KEY=some-special-key
8. Update the DNS entries (if applicable)
In my case, I logged into Cloudflare and updated the A record for my-n8n-instance.com to point to the new Hetzner IP.
Having DNS set up for my n8n instance from the get go was a huge time saver in hindsight. It ensured that I didn’t need to go into any of my configured third-party services (like Google) and update the OAuth redirect URIs.
9. Start and test the new server
Launch the containers:
docker compose up -d
Watch the logs to verify everything started up successfully:
docker compose logs -f n8n
Once Caddy has provisioned the TLS certificate, the log should terminate with:
n8n-1  | Editor is now accessible via:
n8n-1  | https://my-n8n-instance.com
And navigate to the URL in your browser. Log in and verify that all your workflows, credentials, and data are intact.
Summary
Upon reflection, this n8n migration has really been an exercise in unix commands. The amount of n8n specific actions we did was fairly minimal. Essentially, compress the data we need and transfer it. In my case I moved my encryptionKey but for most of you I expect that won’t be an issue.
All in all, I think that’s a largely painless way of migrating an n8n instance from one server to another. I was able to move all my workflows, credentials, and data without any loss. The only hiccup I had was forgetting to back up the Caddy configuration, which caused a few minutes of confusion.
But end to end, I estimate this took me 10 minutes once I’d figured everything out that I needed to export from the old server. As I mentioned above, being able to update the DNS records to point to the new server IP address was a huge time saver. If you use OAuth connections in your n8n workflows and aren’t pointing the redirect URIs to a domain, you’re in for a bit more work.
Hopefully you found this useful. Would love to hear how you got on.